 Question: My iPhone is showing a red bar on its home screen and says it's disabled. What's going on, and how do I fix it?
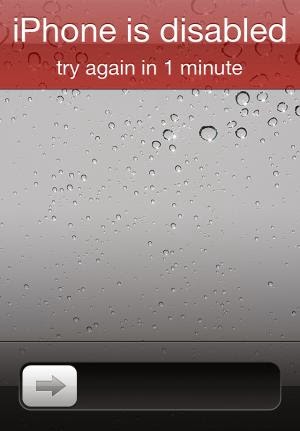
Answer: This situation can occur on all iOS devices-- iPhones, iPads, iPod touches--and comes in a few different forms. Sometimes you'll get just the plain "This iPod is Disabled" message, or one that says that and adds that you should retry it in a minute. Occasionally, you'll even get a message that says the iPhone or iPod is disabled for 22 million minutes and to try back later. Obviously you can't really wait that long, since 22 million minutes is nearly 42 years.
Whichever of those messages you're getting, the cause is the same: An iPod or iPhone gets disabled when someone has entered in an incorrect pass code too many times.
The passcode is a security measure that you can turn on in the iOS to require people to enter a password in order to use the device. If an incorrect pass code is entered 6 consecutive times, the iPod will lock itself and prevent you from entering any new pass code attempts. If you enter an incorrect pass code many more than 6 times, you may get the 22 million minutes message (which isn't a real amount of time; obviously you can't wait that long. That message is basically something designed to represent a really, really long time).
If you're seeing that message, that means someone--maybe you, but maybe not (which is potentially a warning sign)--has entered the wrong pass code at least 6 times.
Fixing a Disabled iPod
Fixing an iPod, iPhone, or iPad that's disabled is relatively easy; it's actually the same set of steps as what to do when you forget your passcode.
- The first step you should try is to restore the device from backup. To do that, connect your iOS device to the computer you sync it to and, in iTunes, click the Restore button. Follow the onscreen instructions and in a few minutes your device should be usable again.
- If that doesn't work, or if you've never synced your device to iTunes, you need to try Recovery Mode.
- One of those two steps will usually work, but if they don't, try DFU Mode, which is a more extensive version of Recovery Mode.
- But what if you don't have access to a computer right now? Well, if there's another iOS device handy and you have iCloud enabled on your device that's disabled, you've got an option. Download the Find My iPhone app (opens in iTunes) to the second iOS device and log in with your iCloud user name and password (not the account belonging to the person whose device you're using). Use Find My iPhone to locate your device and then perform a Remote Wipe of it. This will delete all of the data on your device, so only do it if you've got all your data backed up, but it will also reset it so you can access it again. If you've been backing up your data to iCloud, then you can restore from that and be good to go.
Once your iPod, iPhone, or iPad is back in working order, you may want to consider two things: setting a new passcode that's easier to remember so you don't get into this situation again and/or keeping an eye on your device to make sure people you don't want using it aren't trying to get at your information.


